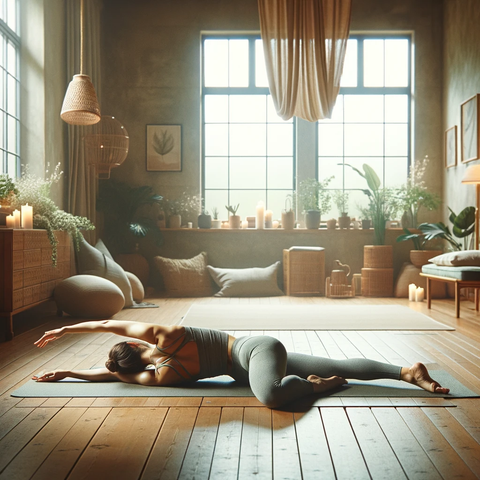
In our modern and often sedentary lifestyles, maintaining flexibility in our legs is crucial for overall health, fitness, and preventing injuries. In fact, leg flexibility is an often overlooked part of our wellness, but it shouldn’t be.
In this article, we’ll explain why your leg flexibility is so important to other areas of your wellness. We’ll also show you how to get more flexible legs using the ultimate flexibility tool - the CastleFlexx!
Whether you're an athlete aiming to improve your performance, a fitness enthusiast looking to expand your range of motion, or just want to learn how to improve leg flexibility, the CastleFlexx is your key to unlocking the best stretches for leg flexibility.
Get ready to discover the secrets of supple, flexible legs and experience the benefits that enhanced flexibility can bring to both your body and your mind.
Why Work to Increase Leg Flexibility?
Before we discuss how to get more flexible legs and go through some leg stretches for flexibility, let’s first take a look at why it’s important to increase leg flexibility in the first place.
Improved Athletic Performance
Whether you're a professional athlete or an occasional fitness enthusiast, learning how to improve leg flexibility can significantly impact your performance. A wider range of motion in your legs allows for more dynamic movements, helping you excel in various sports and activities.
From powerful strides during running to agile maneuvers in sports like basketball or soccer, the best stretches for leg flexibility can provide you with a competitive edge. Learning how to increase flexibility in legs can enhance your body's agility, speed, and coordination.
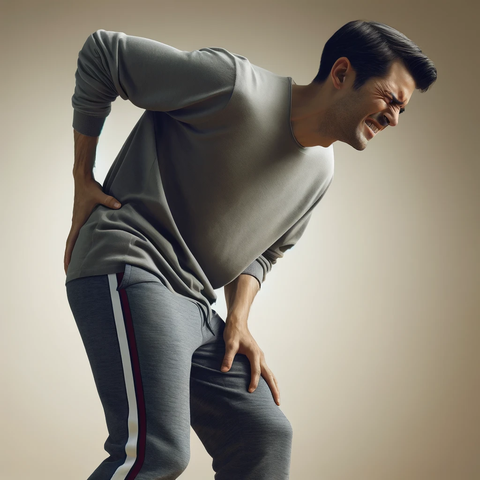
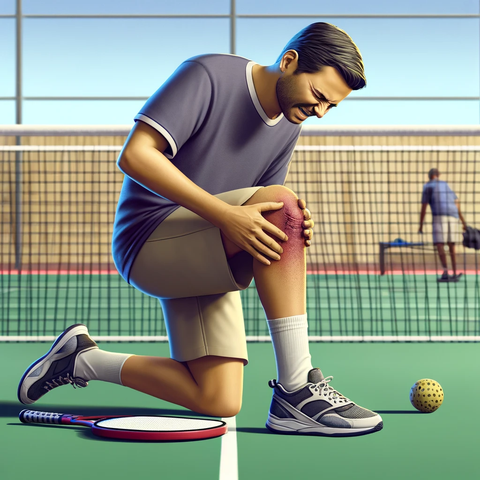
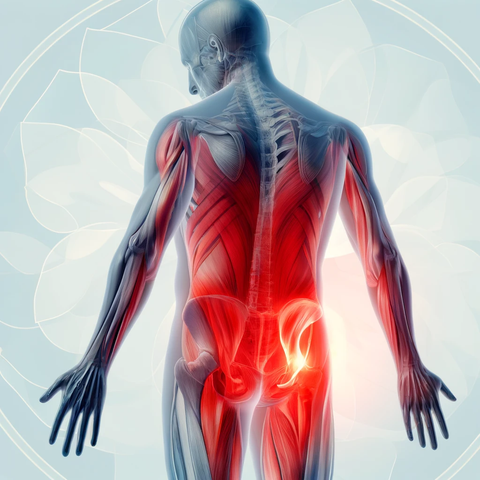
Preventing Injury
Injuries often occur when muscles, tendons, and ligaments are pushed beyond their limits. Inflexible legs can increase the risk of strains, sprains, and muscle tears, leading to prolonged setbacks and discomfort. That’s why stretching for injury prevention is so important.
By working to increase leg flexibility, you're not only promoting better range of motion, but you're also reinforcing the resilience of your leg muscles and connective tissues. This, in turn, acts as a safeguard against common injuries.
Learning how to increase flexibility in legs leads to muscles that are, overall, more flexible. Flexible muscles are less prone to sudden tears and injuries, allowing you to engage in physical activities with greater confidence and a reduced likelihood of harm.
Quality of Life Improvements
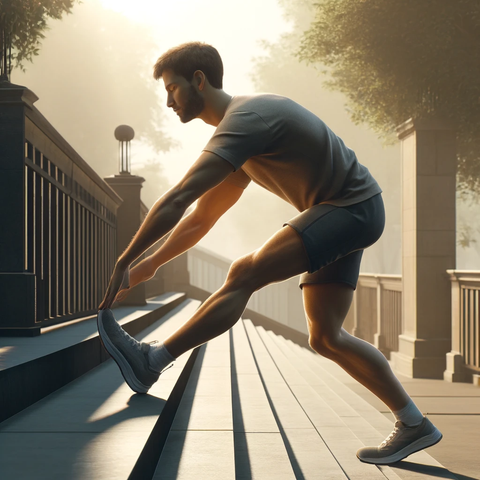
There’s a strong link between flexibility and aging, and flexibility helps to maintain a high quality of life as you age. Simple daily tasks such as bending to tie your shoes, reaching for objects on high shelves, or getting in and out of a car become easier and more comfortable with flexible legs.
Learning how to improve leg flexibility also contributes to better posture, which can alleviate chronic pain often associated with poor alignment. By investing time and effort in increasing leg flexibility, you're setting the stage for a more active, pain-free, and fulfilling life.
How to Get More Flexible Legs Fast: Pairing Castleflexx With the Best Leg Stretches for Flexibility
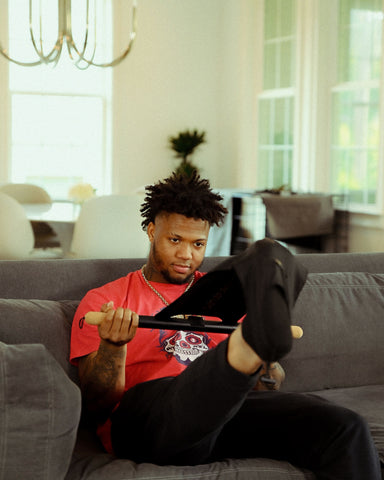
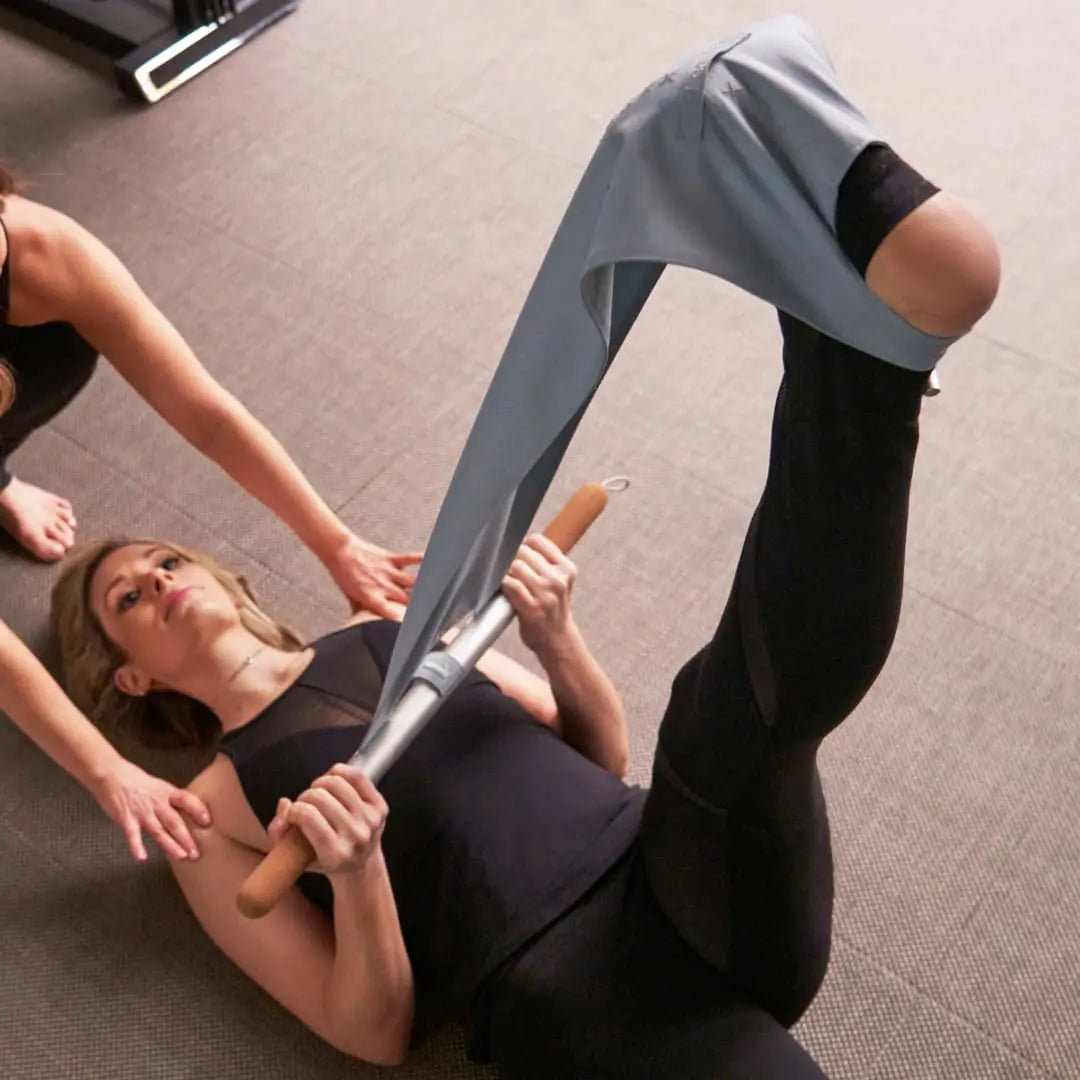
With the best stretching equipment like the CastleFlexx, you can enjoy fascial stretch therapy at home. Once you have your CastleFlexx, you need to learn how to incorporate it into your routine so that you can experience the many assisted stretching benefits for yourself.
Here’s how to get more flexible legs safely, effectively, and quickly with the CastleFlexx and some simple leg flexibility stretches.
Understanding the Basic Types of Leg Stretches for Flexibility: Dynamic vs Static Stretching
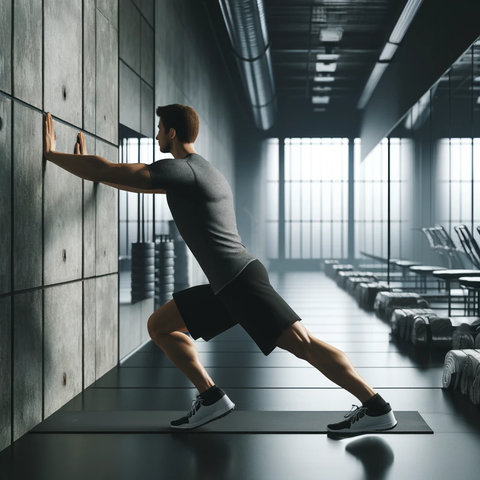
Before we discuss how to increase leg flexibility, let’s cover some stretching basics. Flexibility training often involves two primary methods: dynamic stretching and static stretching. So, what’s the difference between the two, and which should you focus on?
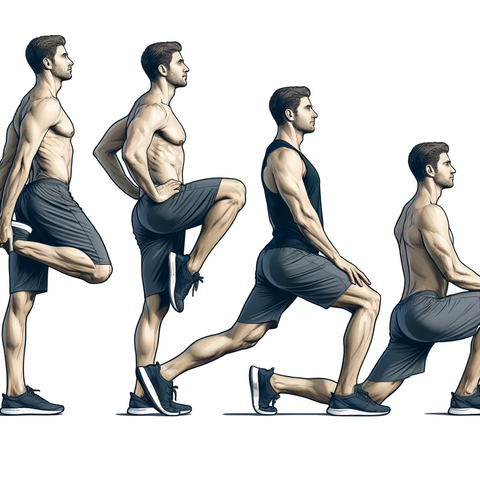
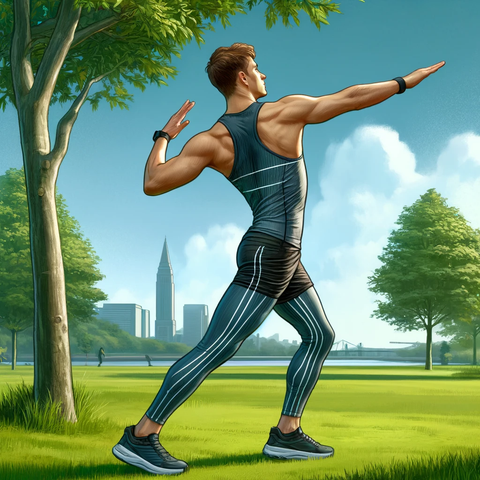
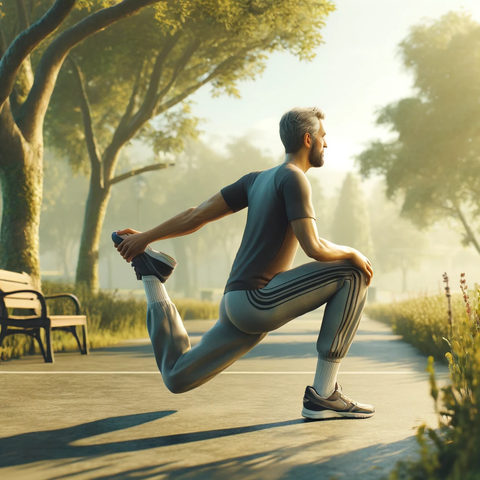
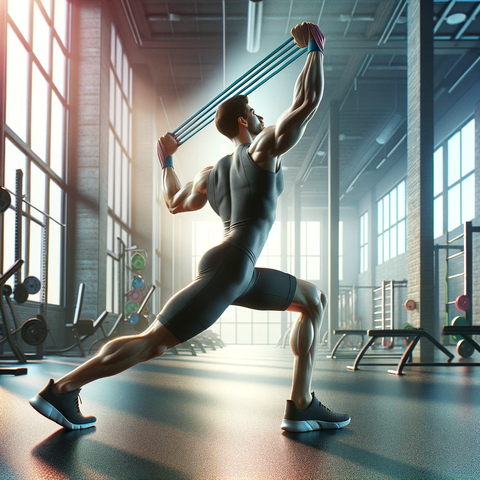
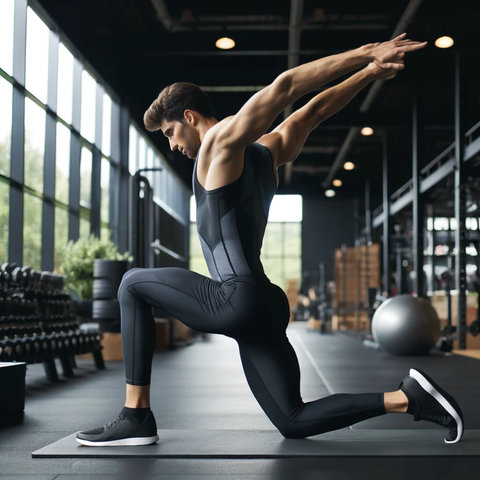
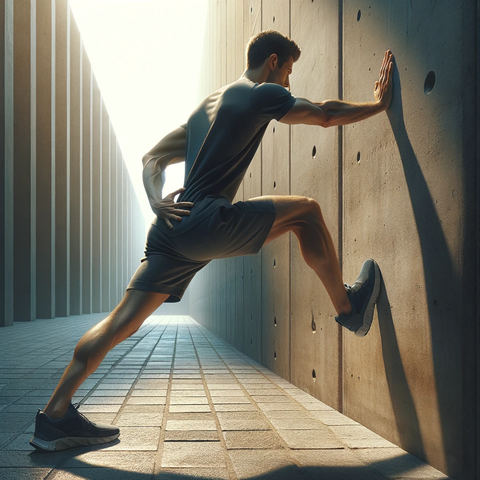
Dynamic stretches involve moving parts of your body through a full range of motion, typically mimicking movements you'll perform during exercise or sports. These stretches can improve blood flow, loosen up muscles, and prepare your body for physical activity.
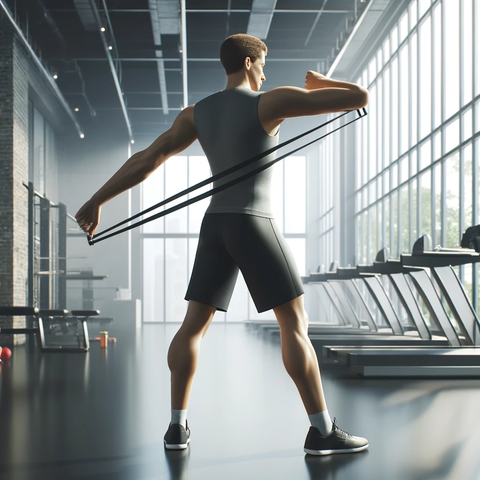
Static stretches, on the other hand, involve holding a stretch for an extended period, helping to lengthen muscles and increase flexibility over time. Both types have their place in a well-rounded flexibility routine.
Crafting a Comprehensive Leg Flexibility Stretching Routine
Learning how to increase flexibility in legs starts with creating a balanced stretching routine that incorporates both dynamic and static stretches. Begin with dynamic stretches to warm up your muscles and increase blood circulation.
After your workout or physical activity, focus on static stretches to help improve muscle elasticity and joint range of motion. Aim for a routine that addresses all major leg muscle groups and includes some of the best stretches for leg flexibility from our list below.
How CastleFlexx Enhances Your Stretching Experience
Regular stretching can bring a lot of benefits, but using flexibility equipment like the CastleFlexx can take your stretching to the next level. This is due to the unique design of the CastleFlexx, and its ability to stretch your muscles more effectively than you can do on your own.
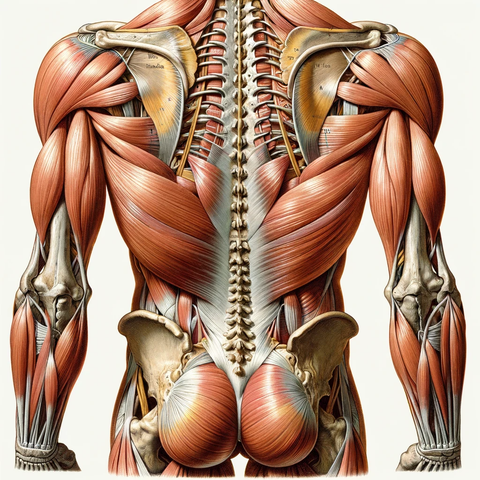
The CastleFlexx targets the entire posterior chain of the lower limb, mobilizes the soft tissues of your toes, foot, calf and hamstrings, and creates fascial and nerve tissue release that improves issues related to lower back pain and herniated discs.
The CastleFlexx aids in deeper stretches by providing leverage and support, helping you ease into positions that may otherwise be challenging. It can be used to add gentle tension, enhancing the effectiveness of your stretches and allowing for controlled, gradual improvement in flexibility.
The Best Leg Stretches for Flexibility
So, what are the best leg stretches for flexibility? Let’s take a look at how to get more flexible legs using some simple stretches you can perform by yourself at home.
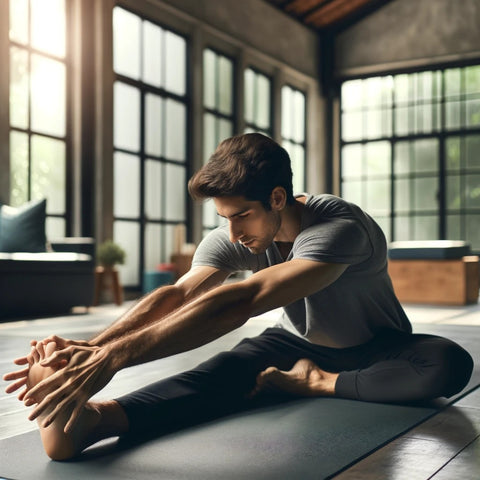
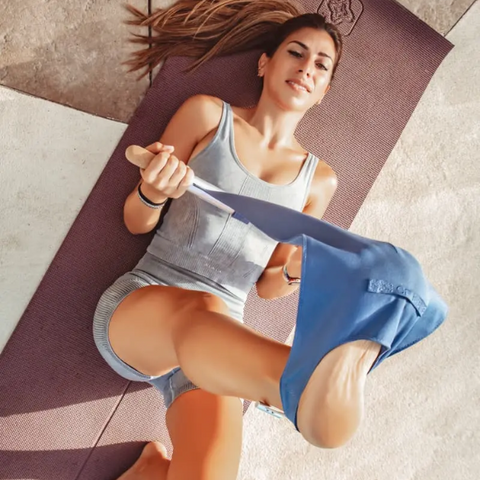
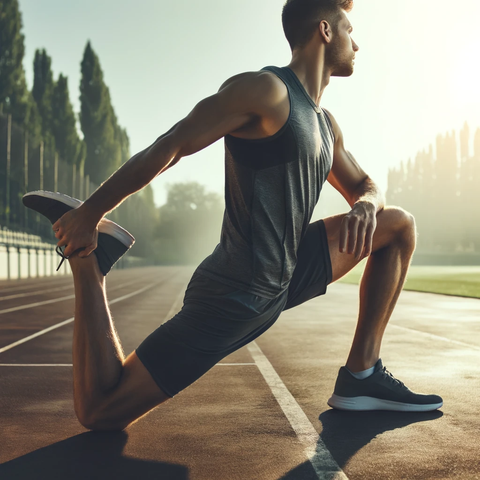
Hamstring Stretches: For the Back of the Thighs
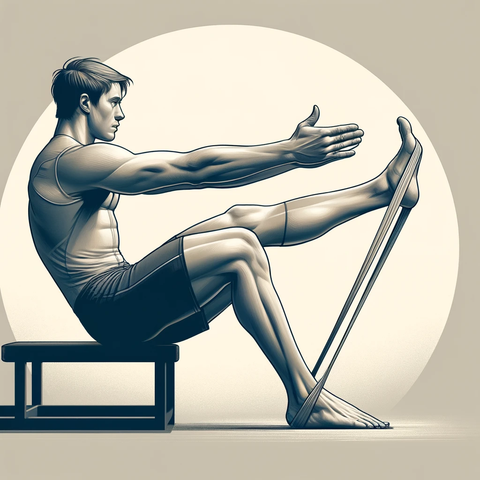
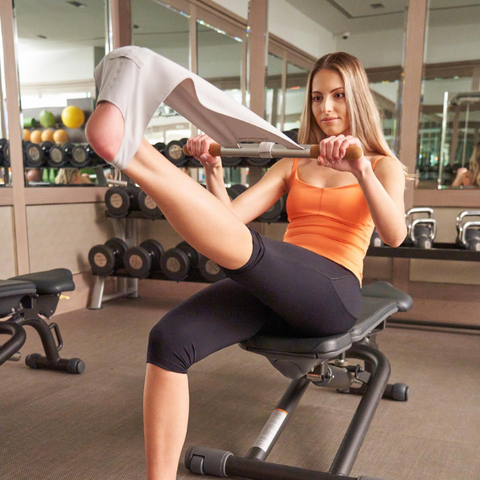
Your hamstring is a large, important muscle group. If you want to learn how to get flexible legs fast, starting with your hamstrings will help. This is a simple stretch you can perform with the CastleFlexx to relieve tension in your hamstrings and improve your leg flexibility.
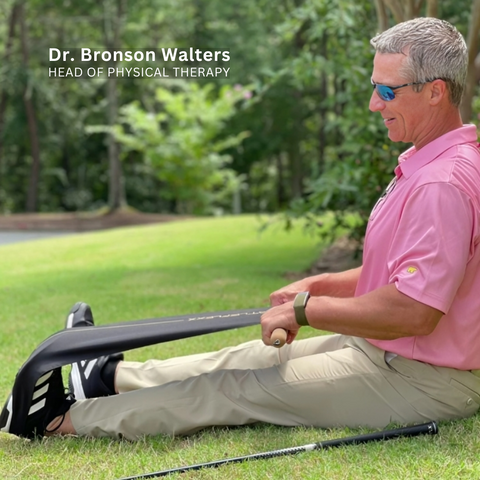
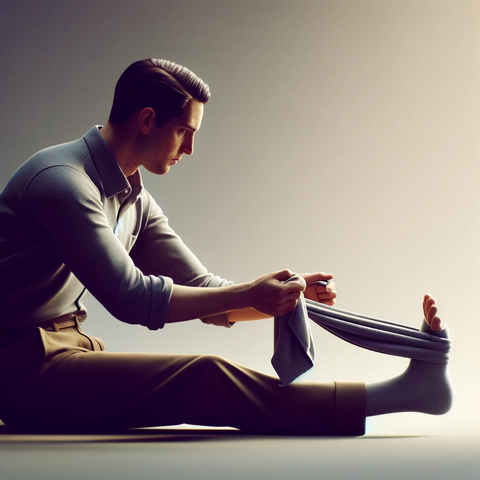
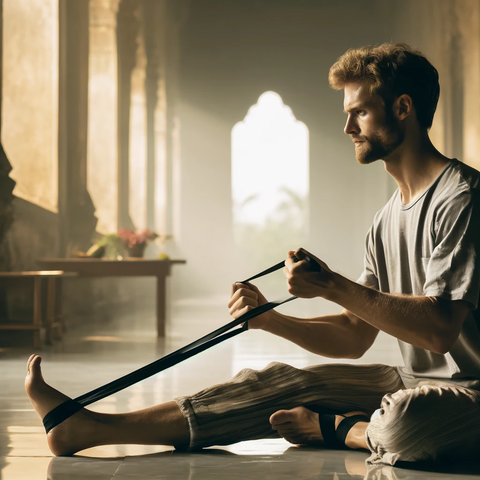
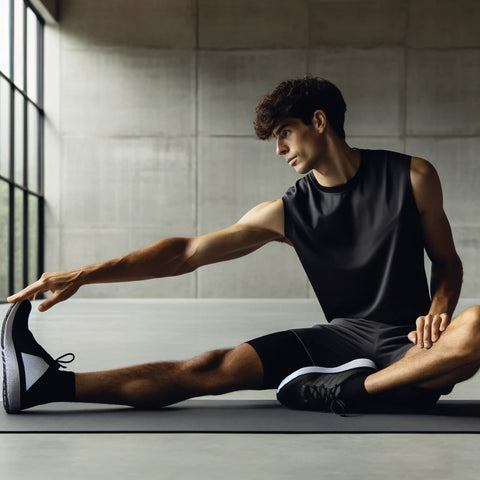
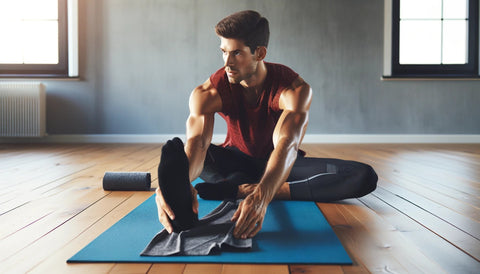
Sit on the floor with your legs extended. Place your heel in the CastleFlexx and gently pull on the handles while keeping your leg straight. Feel the stretch in the back of your thigh. Hold for 20-30 seconds and switch sides.
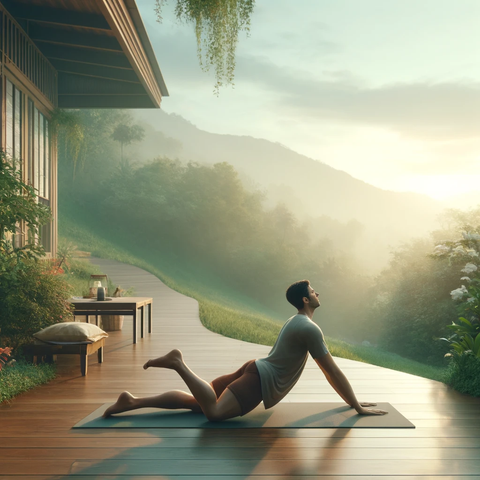
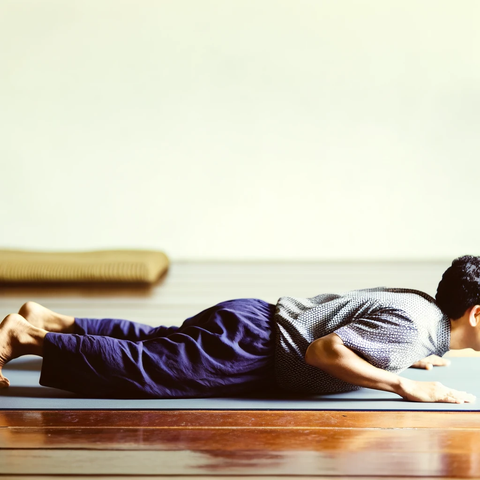
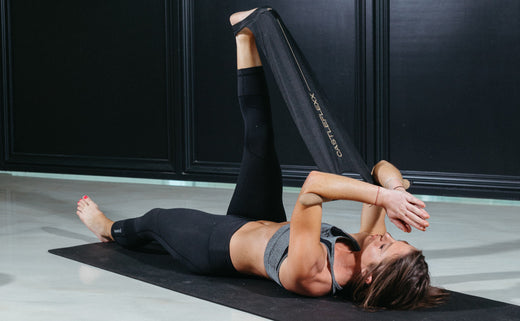
Quadricep Stretches: For the Front of the Thighs
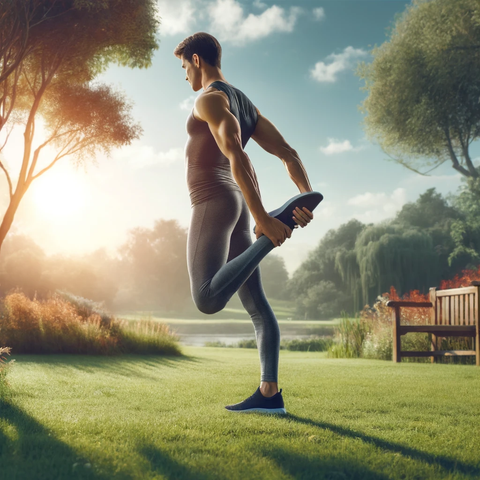
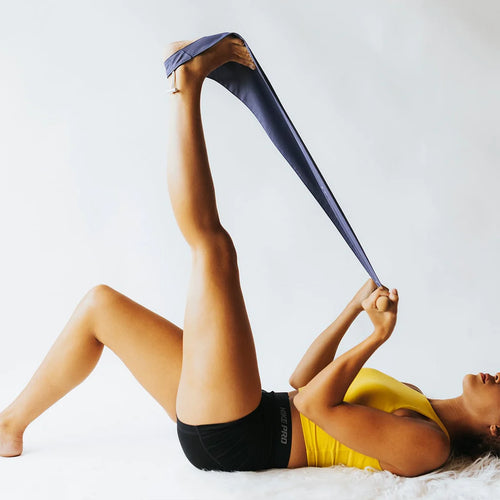
Lay on your stomach and, with your leg behind you, loop the CastleFlexx over your midfoot. With your head down and your hands above your head, gently pull the CastleFlexx forward, towards the ground, until you feel the stretch in your quads. Hold for 20-30 seconds and switch sides.
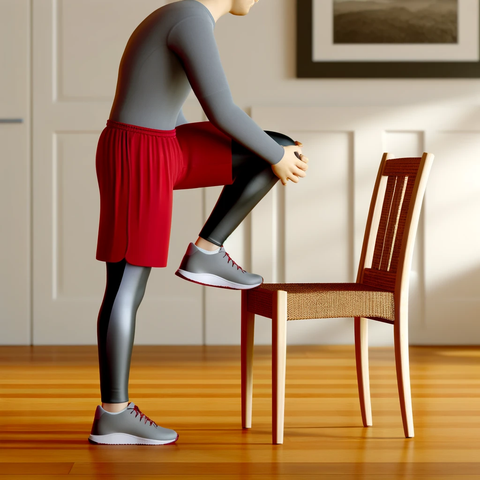
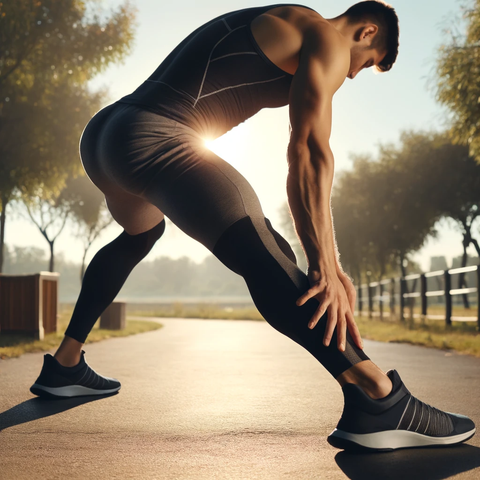
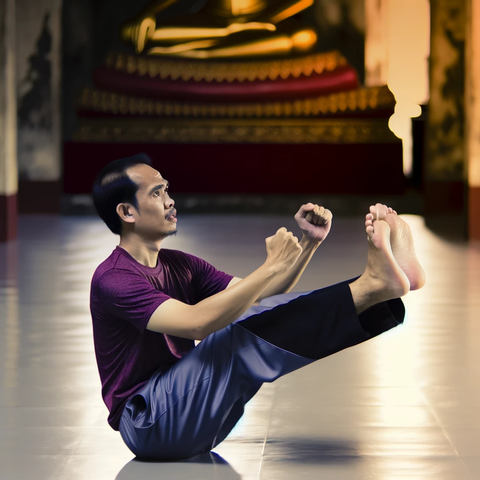
Calf Stretches: For Lower Leg Flexibility
Sit on a chair with your feet flat in front of you. Place one heel in the CastleFlexx and gently raise your leg in front of you, keeping your knee straight. With your leg still straight, gently pull on the CastleFlexx handle so your toes start to point towards you. Hold for 20-30 seconds and switch sides.
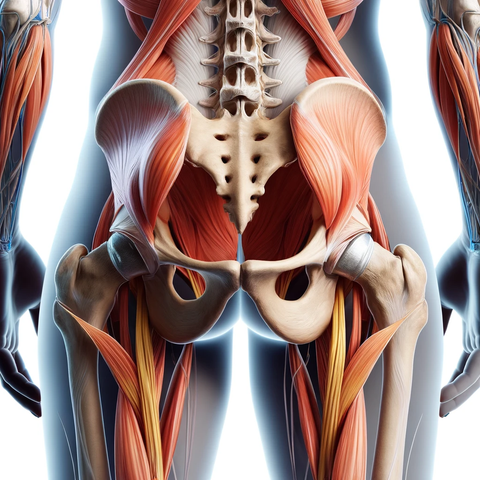
What About the Glutes and Hips?
One thing that’s important to realize when it comes to leg stretches for flexibility is that all our muscles affect each other. Stretching your glutes and hips can also contribute to leg flexibility, just like tight glutes and back pain or tight calves and knee pain are linked.
Use the CastleFlexx to learn how to stretch glutes and hamstrings, how to release tight calves, how to fix tight hamstrings, how to get better hip mobility, and how to increase back flexibility. Your entire body will thank you!
Monitoring Your Progress: What to Expect
Now that you know how to increase flexibility in legs, you’re probably how long does it take to become flexible with the CastleFlexx? The CastleFlexx is one of the most effective, efficient tools to improve your flexibility.
By setting aside a few minutes every day to do your leg stretches for flexibility, you’ll start seeing results before you know it. You can even use the CastleFlexx to reduce your achilles recovery time, and learn some stretches for shin splints to speed up your shin splint recovery. It’s a game-changer!
Leg stretching tips
- Engage in controlled, steady movements when stretching, avoiding abrupt or bouncing motions that may harm your muscles.
- Approach muscle stretches with caution, prioritizing slow and careful execution to prevent overstretching.
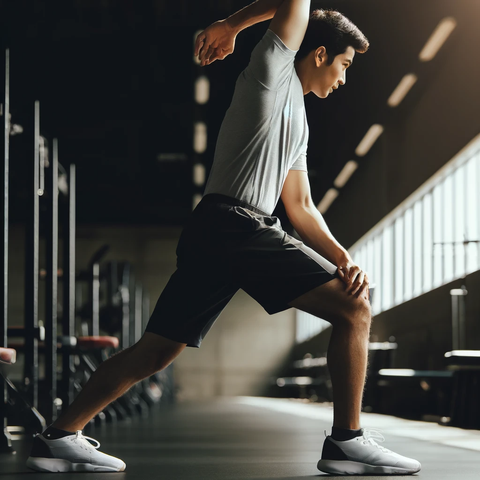
- Remember that stretching should not replace a proper warm-up; ensure your muscles are adequately warmed by performing activities like jumping jacks or light jogging before starting your stretches.
- If you're new to stretching, it's perfectly fine to bend your knees and take it easy as you begin.
Leg stretching warnings
- If you experience pain, cease the activity and pay attention to your body's signals to avoid potential muscle strains or tears.
- Prior to starting any exercise regimen, particularly if you have underlying risk factors like cardiovascular or heart issues, it's advisable to seek guidance from your doctor or a medical professional.
How to Get More Flexible Legs Beyond Stretching
If you’re learning how to increase flexibility in legs, it’s important to start with stretching. However, there are also a number of other factors besides leg flexibility stretches that can play a role. Here are a few other things to consider that can increase leg flexibility.
Nutrition and Supplementation
A diet rich in essential nutrients, particularly those that support muscle health, can contribute to improved flexibility. Wondering how to increase leg flexibility with your diet? Start by making sure you’re getting enough protein.
Adequate protein intake aids in muscle repair and growth, while vitamins and minerals like vitamin D and magnesium promote healthy muscle function. Omega-3 fatty acids found in foods like fish can reduce inflammation, helping to maintain supple joints.
Deep Tissue Work and Other Recovery Tools
Incorporating deep tissue massage and foam rolling into your routine can work wonders for your leg flexibility. These techniques target knots and tension in your muscles, improving blood flow and aiding in muscle recovery.
Consider using tools like foam rollers, massage balls, or even scheduling regular sessions with a professional massage therapist to keep your muscles pliable and ready for effective stretches.
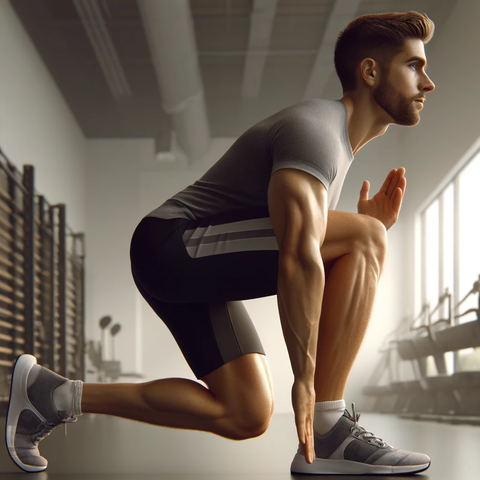
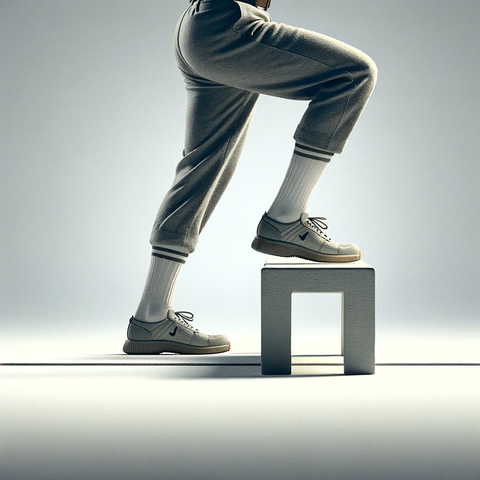
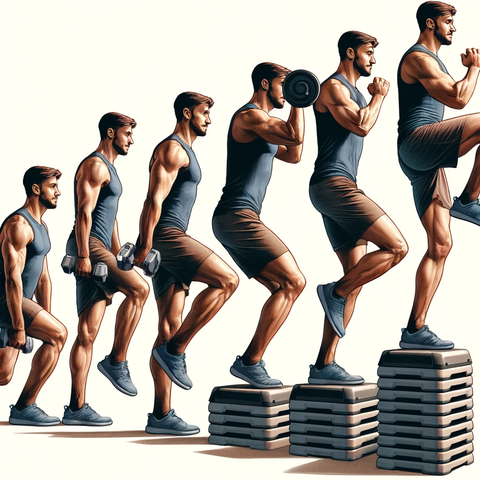
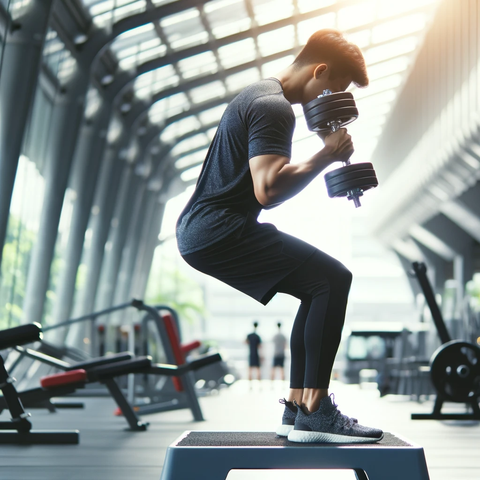
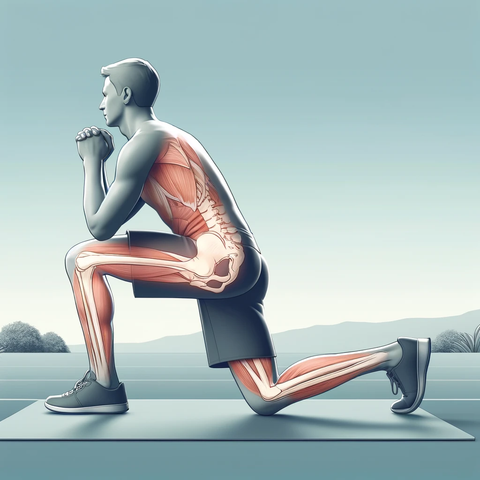
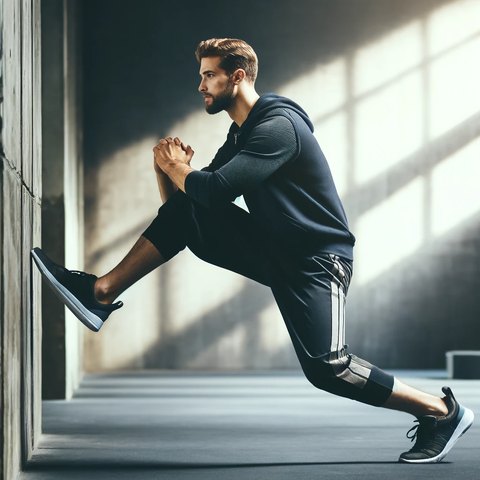
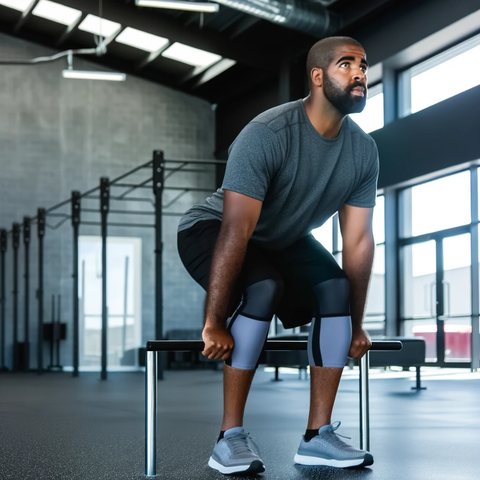
Performing Strength Training Exercises Through the Full Range of Motion
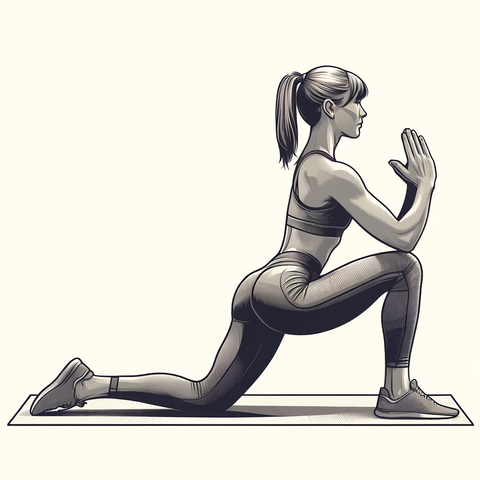
Strength training that emphasizes full range of motion can have a remarkable impact on your flexibility. Compound exercises like squats and lunges, when executed with proper form and a complete range of motion, challenge your muscles through their entire length.
This can lead to increased muscle length and flexibility over time. Incorporate these exercises into your routine while focusing on maintaining proper posture and alignment.
Rest and Sleep
The importance of rest and sleep cannot be overstated when it comes to improving flexibility. During sleep, your body undergoes crucial processes of repair and recovery. Muscles relax and lengthen, and tissues heal from the stresses of the day.
Wondering how to increase flexibility in legs while you sleep? Just aim for 7-9 hours of quality sleep each night to ensure your body has ample time to recharge and promote flexibility gains.
Final Thoughts on How to Increase Flexibility in Legs
Hopefully, this article has helped you understand how to increase leg flexibility with the CastleFlexx and supplementary techniques like nutrition, rest, and strength training.
It only takes a few minutes each day to do leg flexibility stretches with the CastleFlexx, but it can have a big impact on your quality of life, injury prevention, and overall health.
Now that you know how to get flexible legs fast with the CastleFlexx, you can begin your journey to a more flexible, relaxed, healthy you. Get your CastleFlexx today and feel the difference!
]]>


 If you enjoy living a healthy, active life, you’ve likely experienced some type of injury that’s left you on the sidelines.


 Are you tired of feeling tightness and discomfort in your hips, even when you're not doing anything strenuous? Does the pain prevent you from enjoying everyday activities like walking, or even just sitting at your desk? If so, it's likely that your hip flexors are tight and need some attention.
 Becoming more flexible can improve your physical performance, reduce your risk of injury, and help your muscles recover faster between workouts. Plus, it’s easy to do if you have the right equipment and knowledge! So, how do you improve your flexibility?


 Back pain can make life miserable. It can be caused by a number of different factors, and sometimes it can be tricky to pinpoint exactly what the cause is. In this article, we’re going to talk about one of the lesser-known causes of back pain: tight hamstrings.